Call This Tuesday to Get $50 Off Any service over $500
Do You Need a Local Plumber in Waco, TX?
Call us Now to Get $35 OFF.
Call This Tuesday to Get $50 Off Any service over $500
Do You Need a Local Plumber in Waco, TX?
Call us Now to Get $35 OFF.

A leaky toilet might seem like a small issue, but it can waste a lot of water and money over time. Learning how to check for and fix toilet leaks is an essential skill that everyone should have. In this article brought to you by Mr. Rooter Plumbing, we'll guide you through four easy steps to help you detect and stop toilet leaks.
We’ve simplified the steps here, and this is not an exhaustive guide on fixing toilet leaks. If you need a uniformed plumber to take care of your toilet leak repair, then call Mr. Rooter Plumbing to schedule plumbing service or request emergency assistance today.
Before we begin, let’s make sure you have everything you need and are familiar with some of the main components of the toilet:

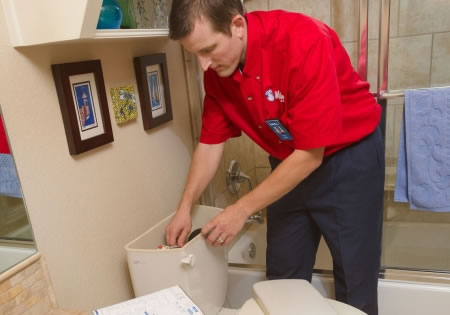
With your materials on hand, carefully lift off the lid of the toilet tank and gently set it aside. Grab your food coloring and put a few drops into the toilet tank. Wait for about 10-15 minutes without flushing. This coloring will help you see if water is leaking from the toilet tank to the toilet bowl.
After about 10 to 15 minutes, look into the toilet bowl. If you see the water in the bowl changing color, there might be a leak. If the water remains clear, move on to the next step.
If you noticed dye in the bowl, the flapper valve might be leaking. This valve controls the flow of water from the tank to the bowl. Gently press down on the flapper valve to ensure that it is sealing properly. If it's not, you might need to replace it.
After your observation, it's time to flush the toilet. Watch the tank as it refills after flushing. Once the tank is full, inspect the water level. It should be about 1 inch below the top of the overflow tube. If it's higher, adjust the float arm or water level to prevent overflows and leaks.
Most toilet leaks are running toilets, or leaks from the toilet tank to the toilet bank. But exterior leaks are also common.
Carefully examine the area around the toilet. If you find moisture, there could be a leak at the base of the toilet. This might require tightening the bolts that secure the toilet to the floor. If tightening does not do the trick, then it might be time to call in a uniformed plumber. The wax ring could be worn or there could be more insidious damage.
Residents in the area are welcomed to call Mr. Rooter Plumbing to hire an experienced plumber. We are proud to offer emergency plumbing service and repair.
If your pipes have seen better days, you may have noticed frequent leaks, discolored water,…
No matter where you live in Texas, you know how unpredictable the weather can be.…
A common nuisance in many homes is a dishwasher that won’t drain, resulting in dirty…