
Call This Thursday to Get $50 Off Any service over $500
Do You Need a Local Plumber in Waco, TX?
Call us Now to Get $35 OFF.
Call This Thursday to Get $50 Off Any service over $500
Do You Need a Local Plumber in Waco, TX?
Call us Now to Get $35 OFF.
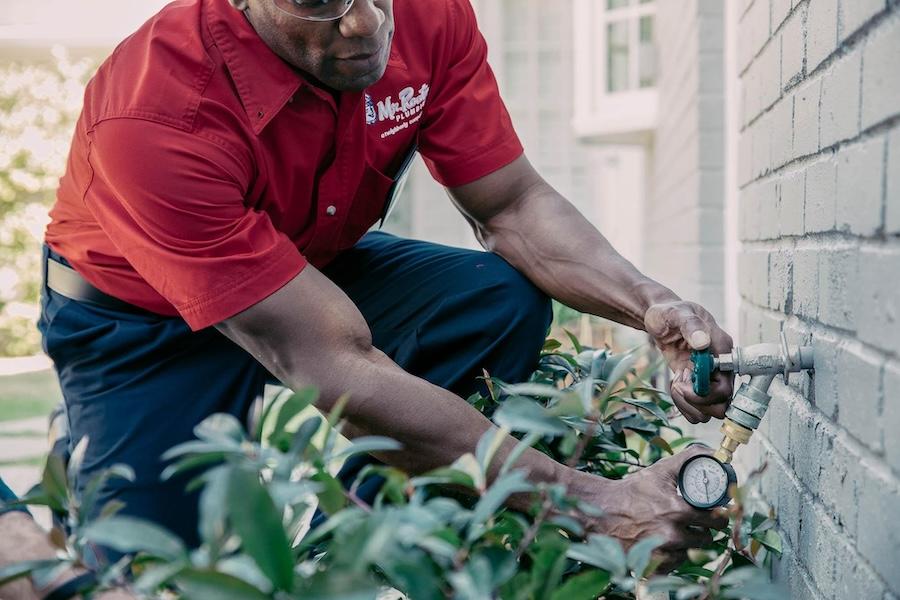
We don’t get a lot of snow or ice here in Texas, but all it takes is one unexpected cold snap to turn your pipes into a sprinkler system flooding your property. Whether you live in Texas or Alaska, insulating your plumbing pipes is a top-priority if you want to avoid disaster.
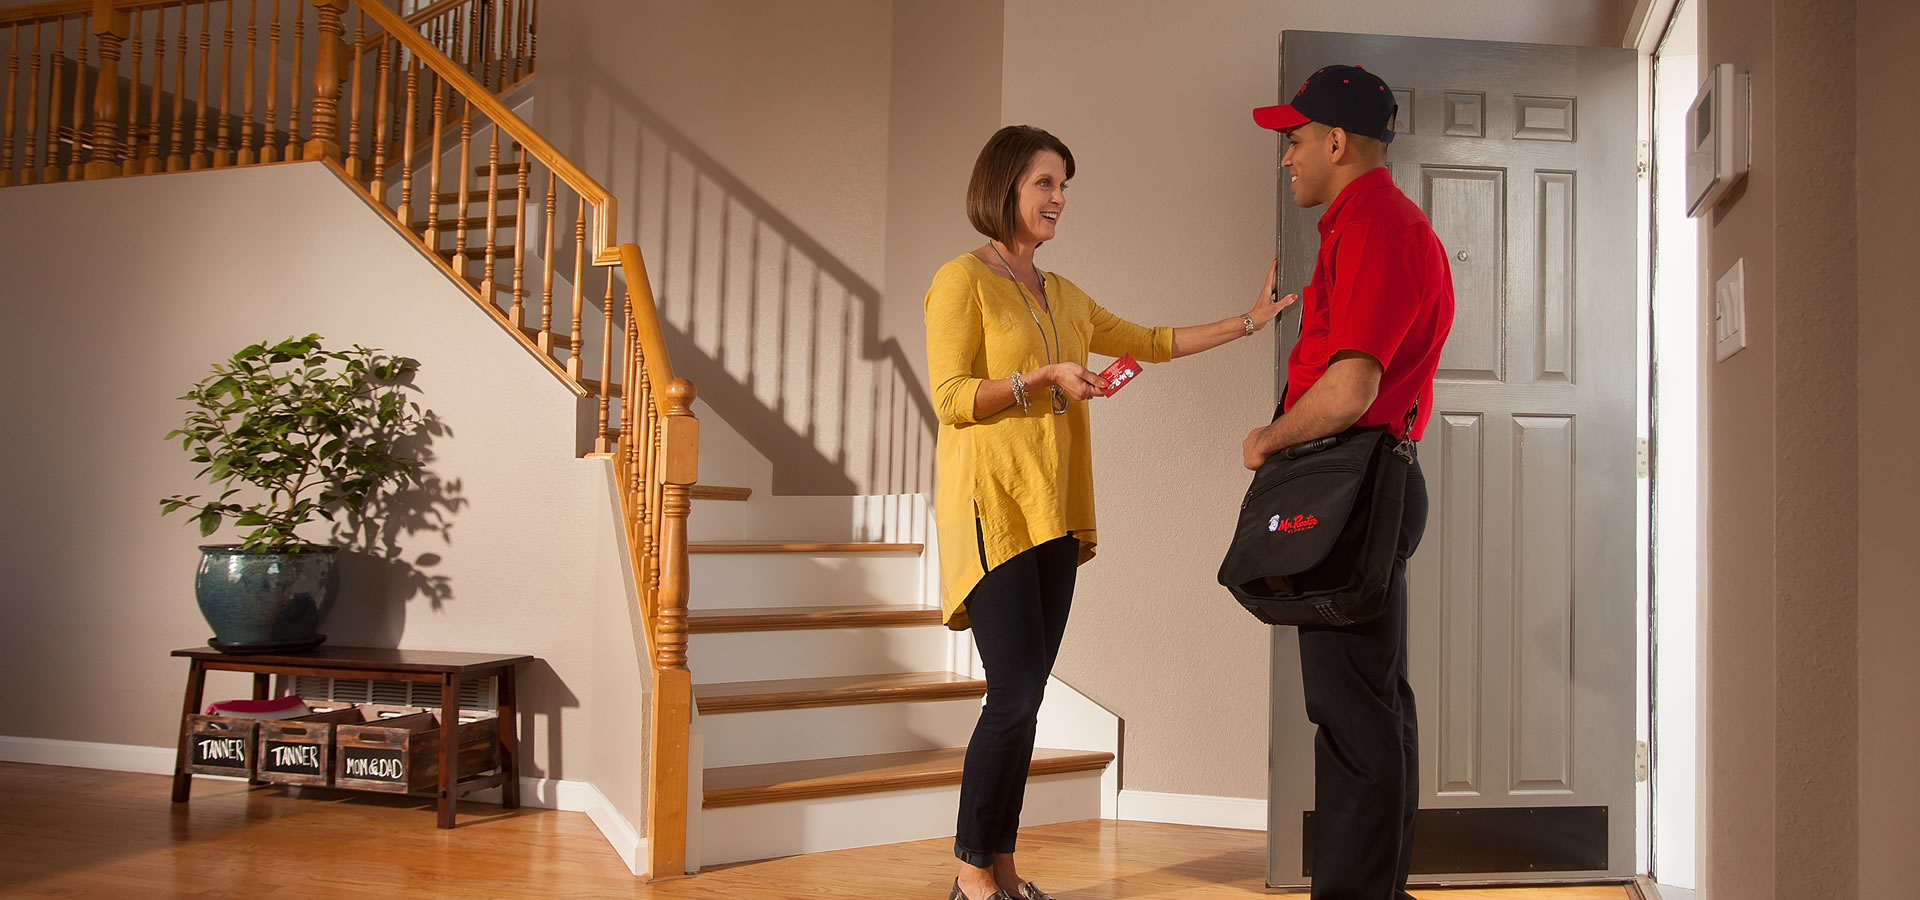
In this brief article brough to you by Mr. Rooter Plumbing, we’ll share some tips on insulating outdoor water pipes. If you’d rather leave the plumbing work to a trained and experienced plumber, then call the uniformed professionals at Mr. Rooter Plumbing. We’re here to schedule an appointment or arrange urgent assistance today.
When water freezes, it expands. If this happens in your plumbing, it can cause pipes to crack or even burst. As you can imagine, this is going to lead to significant damage and costly repairs.
Insulating your pipes helps keep the water inside them from freezing, even when temperatures drop unexpectedly. It’s a small investment of time and money that can save you from a major headache down the line.
All done! Kind of. As a final step, take a moment to inspect your work. Make sure there are no gaps or loose sections that could let in cold air. Check that all joints and seams are securely covered, and that the insulation is tight against the pipe.
There’s no reason to cry over spilled milk. If the damage is done, then call Mr. Rooter Plumbing for quick and affordable pipe repair. We are proud to offer emergency services in Waco, TX and surrounding cities.
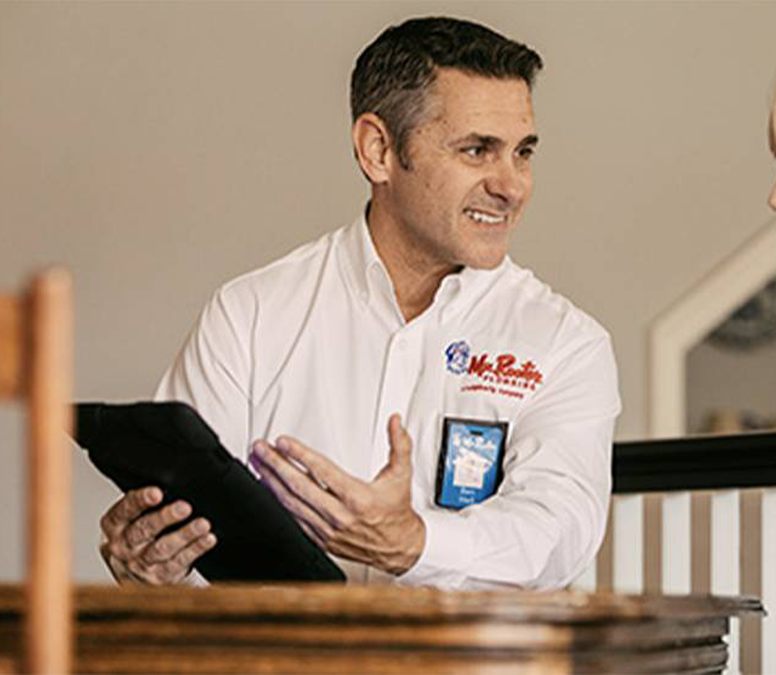
Our quality plumbing service won’t break the bank. We offer competitive prices and regularly share special discounts and coupons on our website. In fact, we provide price quotes UPFRONT!
The truth is, plumbing issues can be intimidating, especially when they catch you by surprise.…
Deciding What Kind of Bathroom Toilet to Get Choosing the right toilet…