
Call This Wednesday to Get $50 Off Any service over $500
Do You Need a Local Plumber in Waco, TX?
Call us Now to Get $35 OFF.
Call This Wednesday to Get $50 Off Any service over $500
Do You Need a Local Plumber in Waco, TX?
Call us Now to Get $35 OFF.

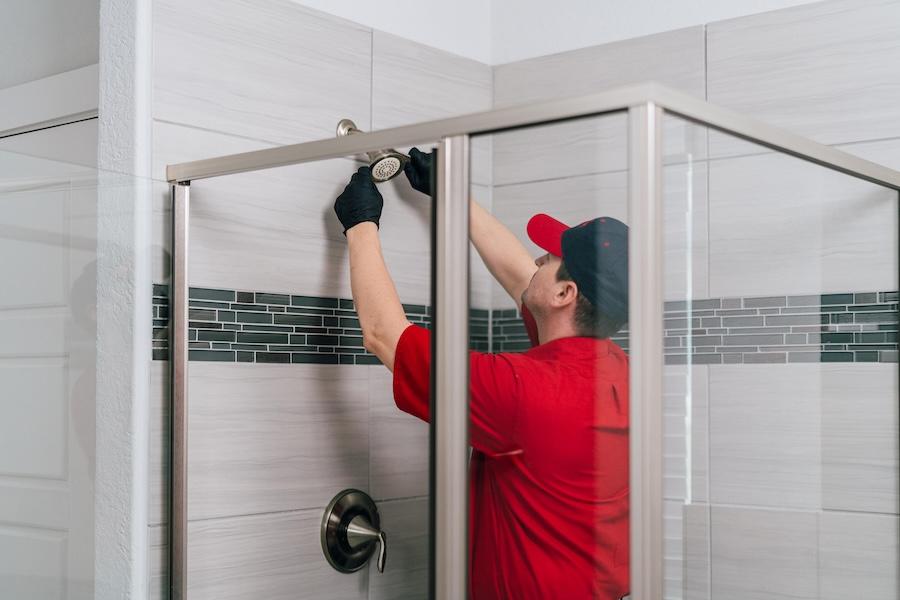
A shower valve is an essential component of a shower system and plays a crucial role in controlling water flow, mixing hot and cold water, and diverting water. Just like other bathroom plumbing fixtures, it can succumb to wear and tear over time. A faulty shower valve can make your showering experience unpleasant and uncomfortable.
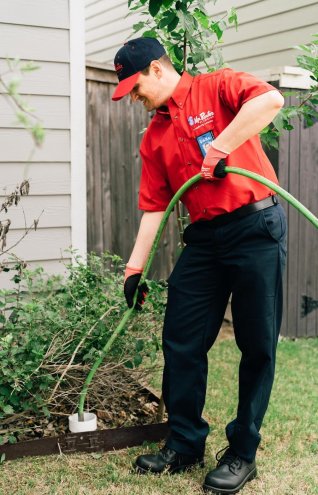
If you need a professional plumbing repair service to help you install a new valve, call Mr. Rooter Plumbing. Our licensed plumbers have the knowledge and expertise to help you improve the function of your bathroom plumbing fixtures.
If you’ve noticed any of these signs, you’ll know your shower valve is on borrowed time. Reach out to a licensed plumbing repair service for a replacement.
Shower valve replacement can be a DIY job for a person with a certain level of plumbing knowledge and skill. This isn’t the kind of job that can be done using trial and error methods. It requires careful planning, the right tools, and a good understanding of bathroom plumbing systems. If you’re unsure about your abilities, it’s a good idea to consult with a trusted plumbing service.
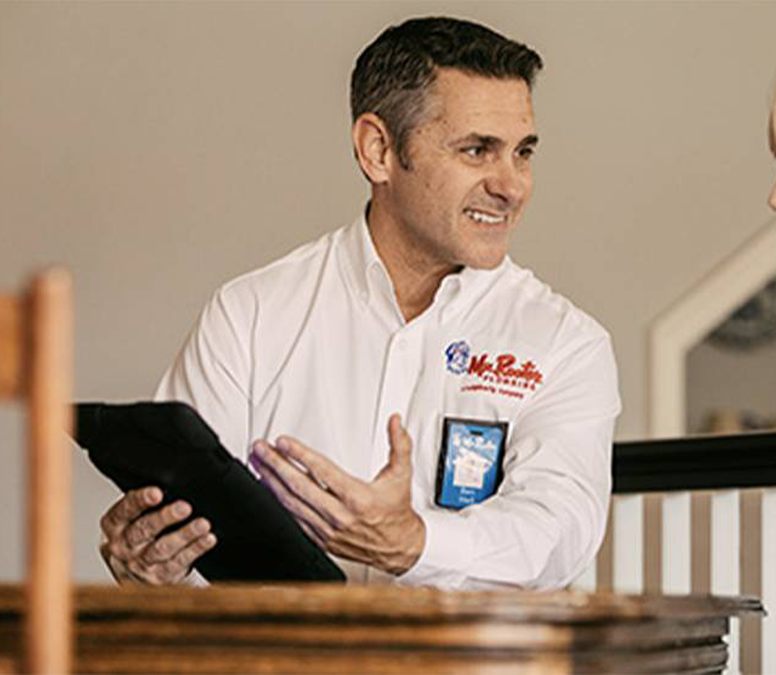
Here at Mr. Rooter Plumbing, we offer exceptional bathroom plumbing services backed by a 100% satisfaction guarantee. Perhaps you need help with shower valve replacement, your toilet is leaking, or it’s time to make bathroom upgrades in preparation for an upcoming home sale. Whatever your needs are, Mr. Rooter Plumbing is here to help. Contact us today to schedule an appointment.
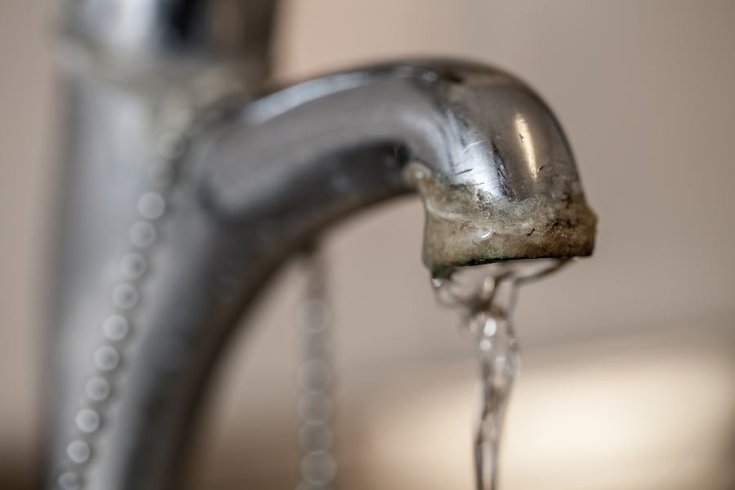
Hard water is a common issue in many homes. While it may not…
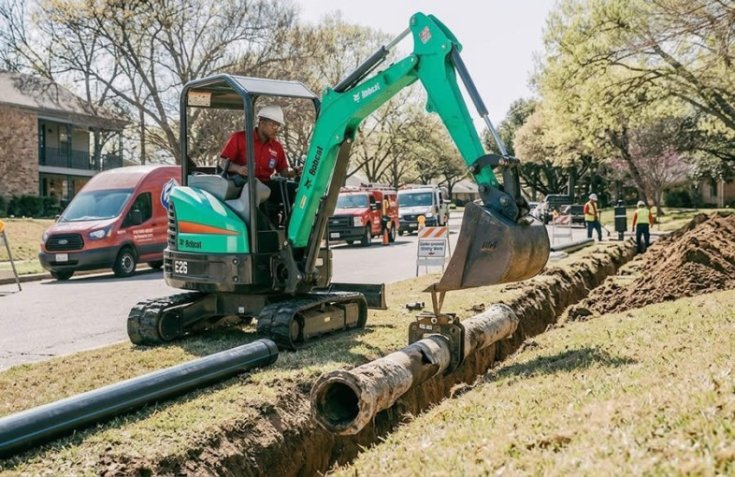
An old water line isn’t just clunky; it can also lower a home’s water pressure…
You probably know that hydro jetting is a powerful method for…